There are tonnes of JavaScript frontend frameworks to choose from. Next, Nuxt, Jekyl and Hugo are all popular options at the minute, but my absolute favourite is Gatsby. Once you understand how React components work - I think Gatsby has the smallest learning curve to get started with building projects.

To follow along with this tutorial, you will need a basic understanding of HTML, SASS, JavaScript and React. You will also need to have installed Node (v12.13 or newer).
Next, you'll need to install the Gatsby CLI tools. Open your command line tool, and enter this command:

This will give you a bunch of commands that make it really easy to work with Gatsby. Now, let's get started with building your first Gatsby site!
The first command you need to run is `npm init gatsby`.

This will start the setup process.
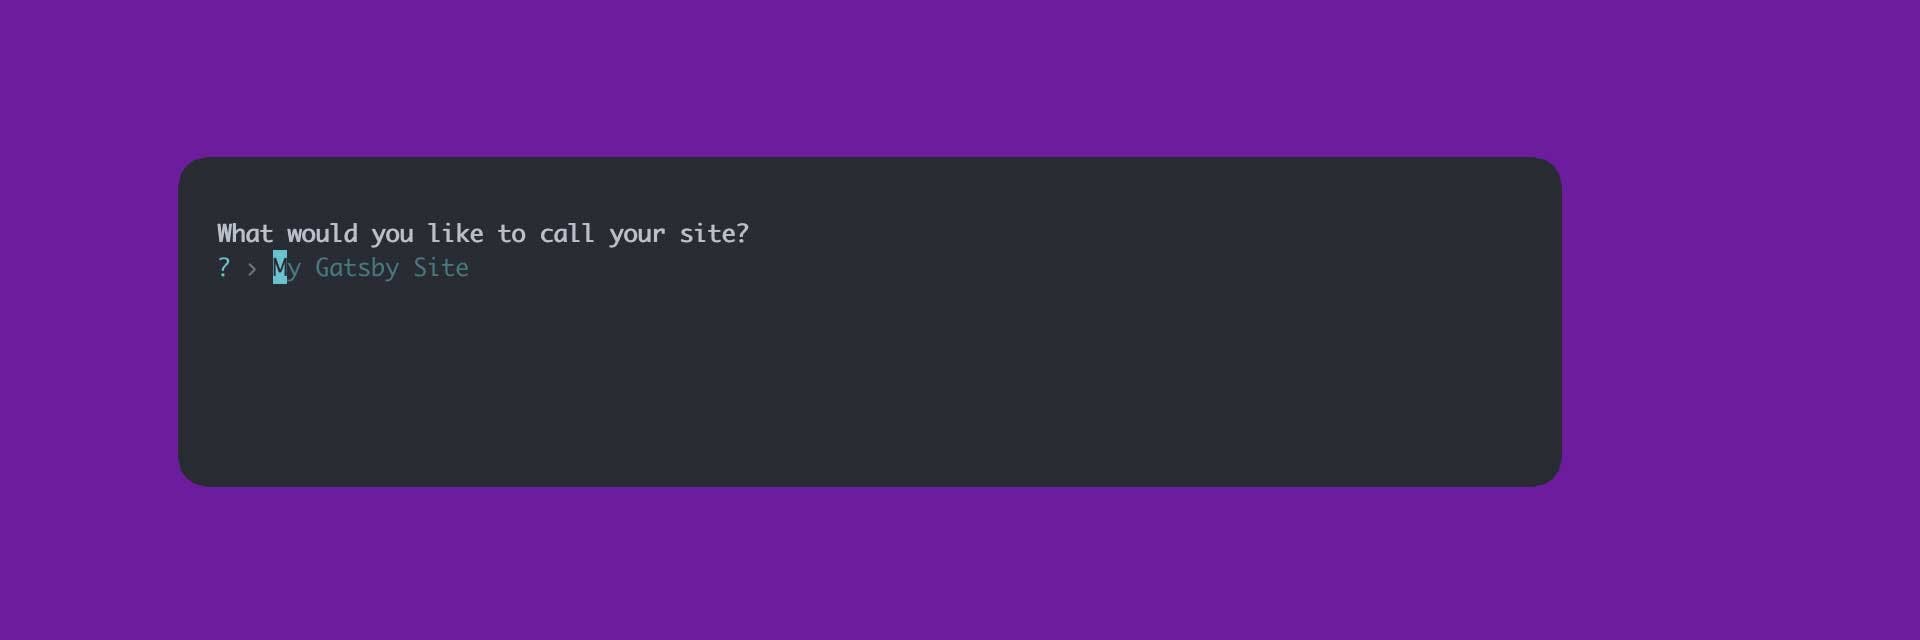
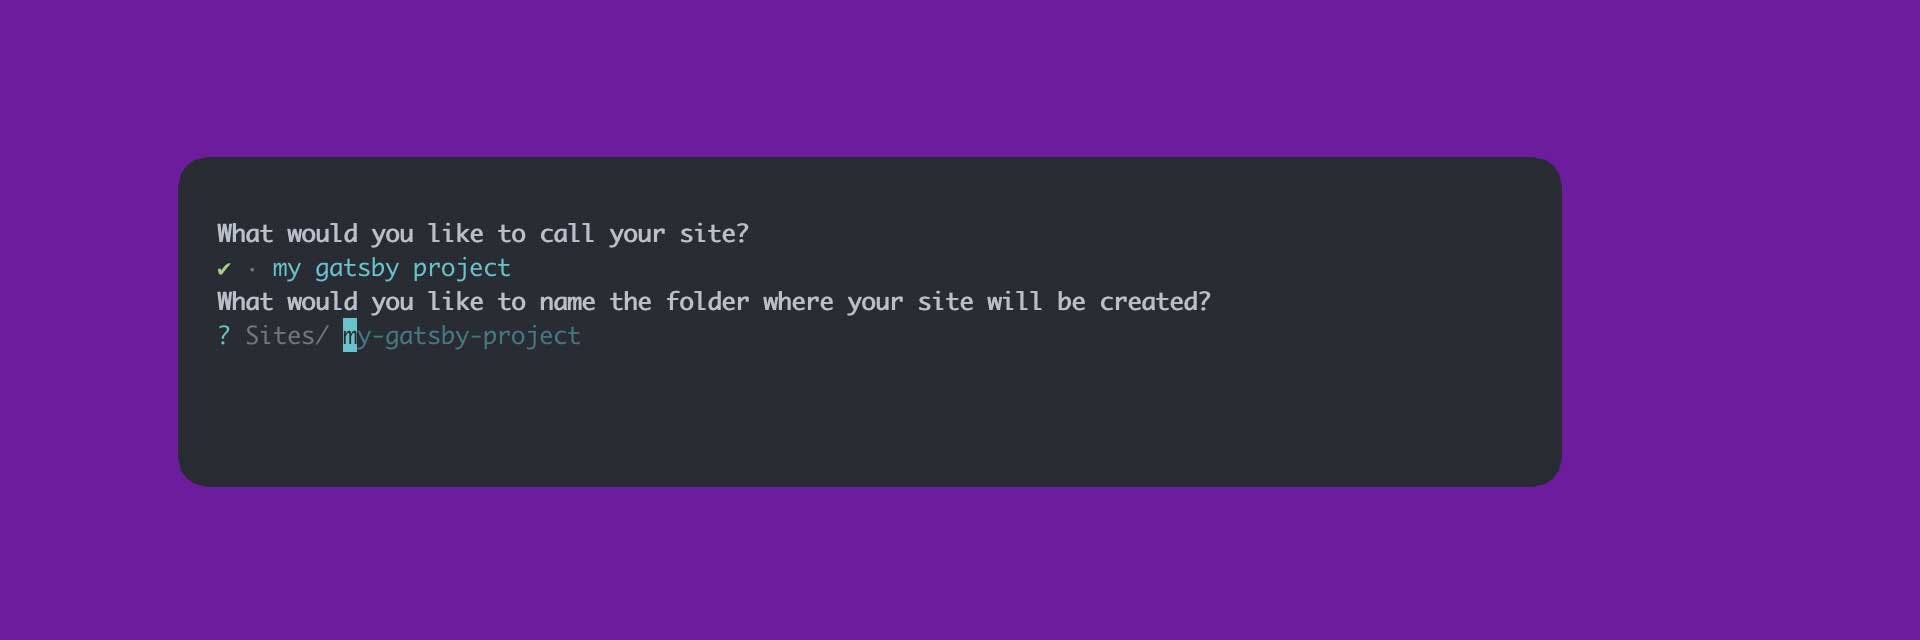
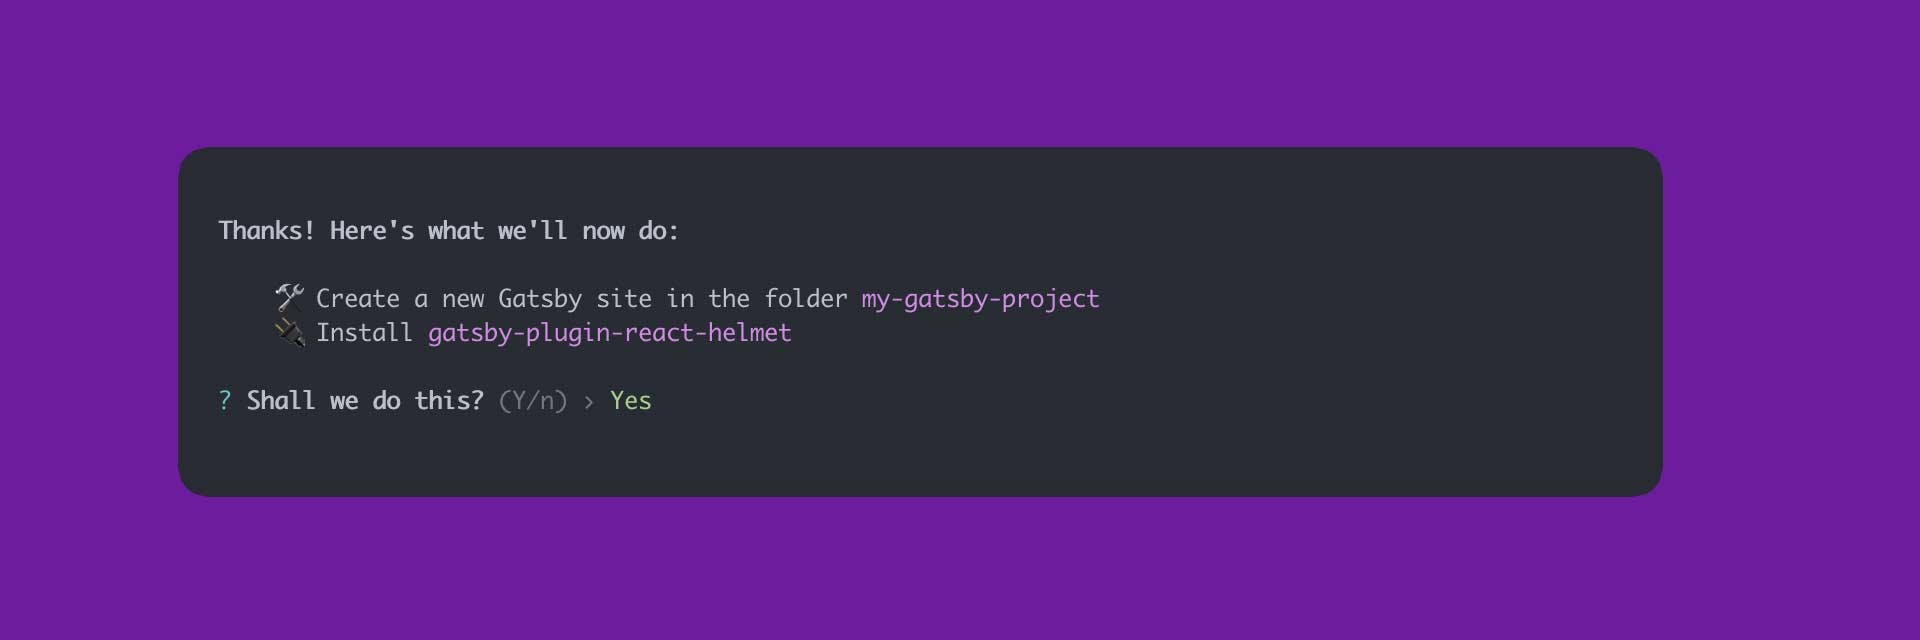
After a couple of seconds, you will be prompted to enter a project name. For the sake of this tutorial, I'll call my project `my gatsby project`. Hit enter, and we'll be taken to the next stage of the setup.
After that, you will need to confirm the folder name for the project. By default, Gatsby will auto-fill the value based on the name you provided in the previous stage. Hit enter again to be taken to the next stage of the setup.
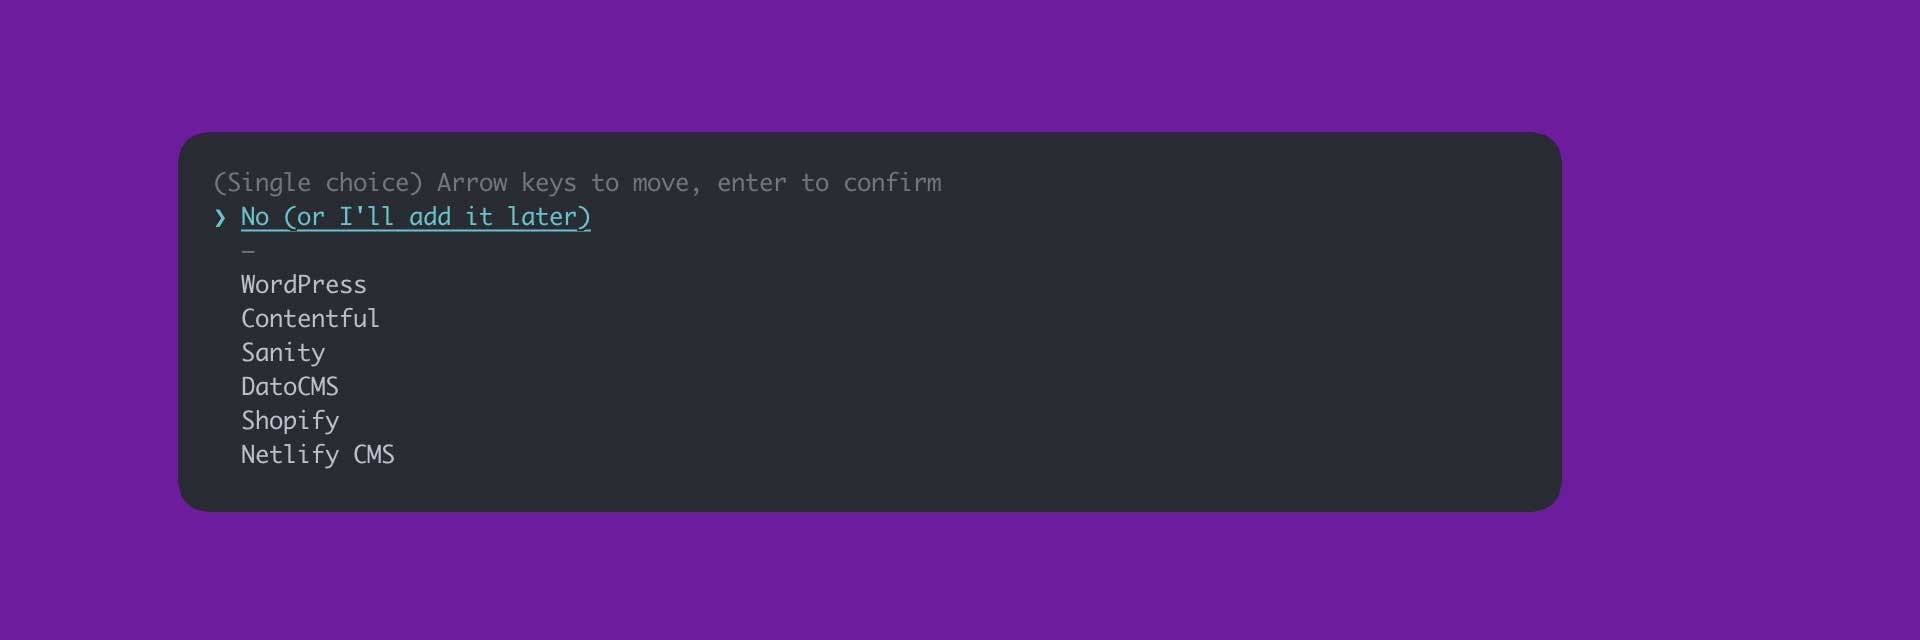
Now Gatsby is asking us if we'd like to integrate any CMS'. You can move down the list and hit enter to choose an option. Gatsby will build the project with various config files so that you can get up and running with that CMS quickly. For now, we're just building a static site, so hit enter on the option that says: `No (or I'll add it later)`.
Next Gatsby is asking if we'd like to install any styling systems. We are going to be using Sass, but we will add that ourselves to show you how to use the Gatsby config, so for now, hit `No (or I'll add it later)`.
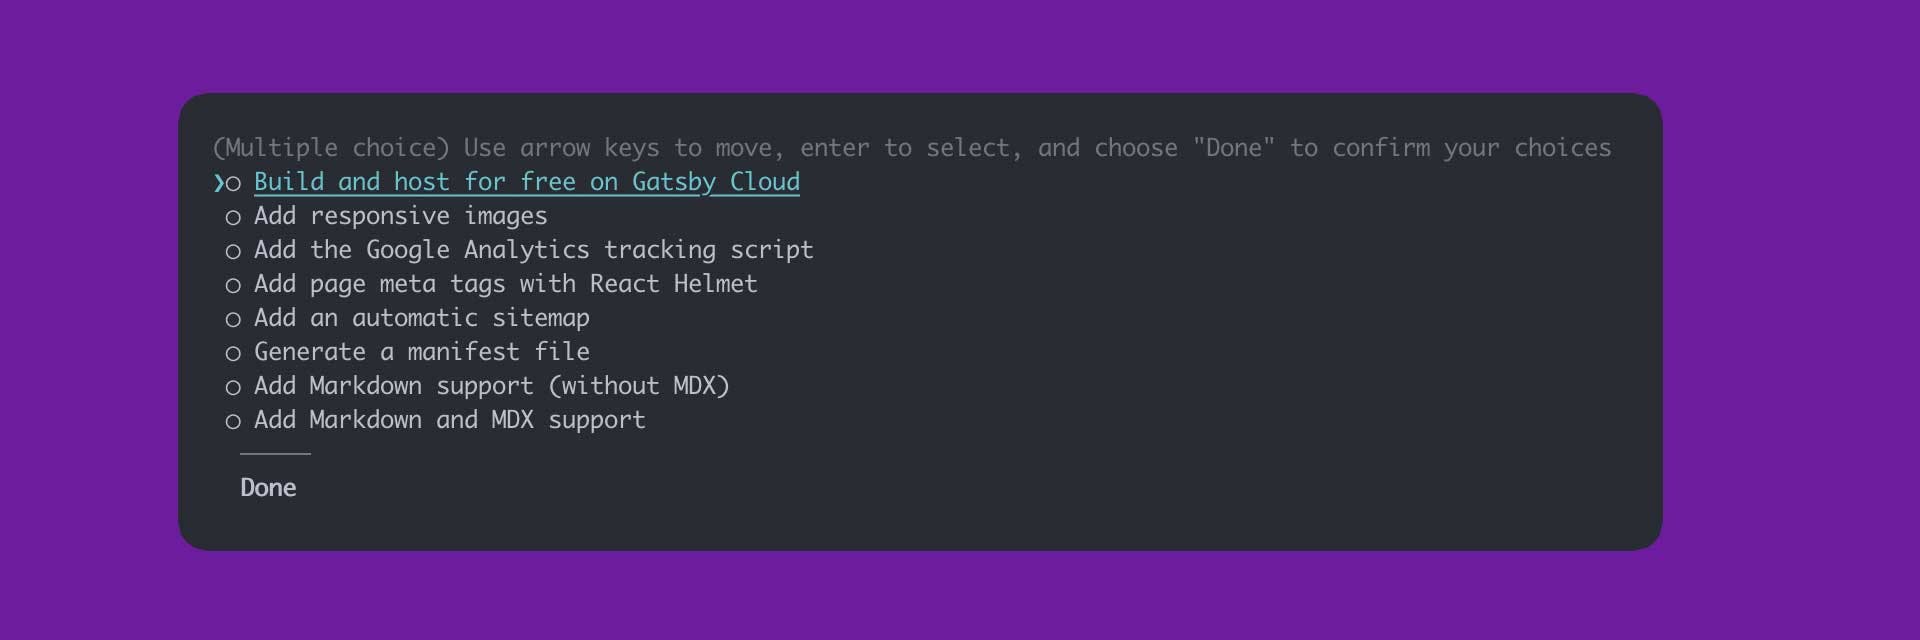
Gatsby has a bunch of other features that you can install during the setup process, and these are shown in a list. You can navigate the list, and hit space on the options you'd like to select. For now, we'll select `Add page meta tags with React Helmet`, and then go down and hit enter on the `Done` option.
Lastly you'll be asked to confirm all of the options you have chosen. If you're happy with everything hit enter! This will begin the build process, and Gatsby will create a project for us to work on.
Now that the project is setup, we need to go into the folder that Gatsby has created for us. We can do that by entering the command `cd "your project folder name"`. cd means Change Directory.

Once you're in the correct folder you can run the first of the Gatsby commands to get the project up and running:

After a few seconds, Gatsby will have built the project, and launched it on a localhost port. If you hold CTRL / CMD you can click on this link, and it will open in your default browser.

Hopefully, if everything worked as expected, you'll see a nice congratulatory message from Gatsby.

Your Gatsby site is up and running! Open the project folder in your code editor, and have a look around the file structure. Familiarise yourself with the gatsby-config file, we'll be using that in the next post!
In the next post we'll go over the first few components that I create, adding Saas, Saas modules and pages.
Next up, let's start styling our components! Find out how in the second part of this series.